If your AirPods microphone is not working properly, a solution is usually just around the corner. This article will provide you with three easy fixes for a muffled AirPods mic, as well as an AirPods microphone that won’t turn on at all.
In short, the best course of action would be to:
- Reconnect your AirPods (and check Bluetooth settings)
- Set the AirPods microphone settings to ‘Automatic‘
- Clean your AirPods microphone with a dry cotton swab
Remember that the microphone on your AirPods is able to work on ‘just’ your left or ‘just’ your right AirPod. The volume on the left or right AirPod can be louder than the other. To balance the volume settings, usually, it’s required to reset to default settings or use the automatic balancer option in the iPhone app.
We’ll discuss all possible solutions individually below. They won’t take longer than a few minutes of your time. If you can’t seem to resolve the issue, make sure to check if your battery level is sufficient.
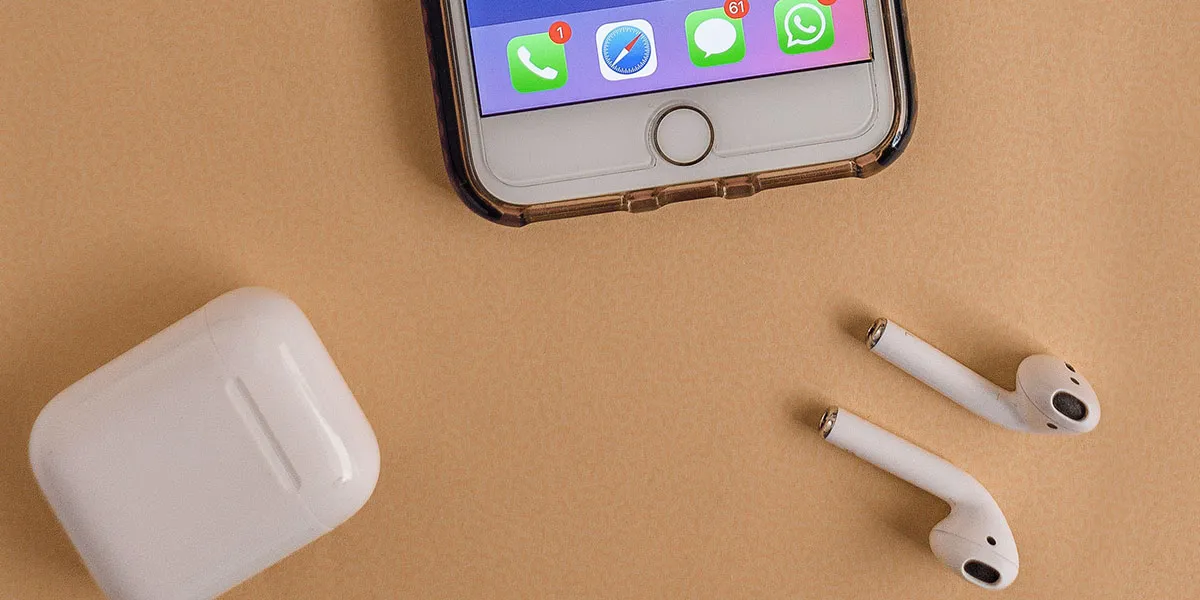
1. Reconnect AirPods (And Check Bluetooth Settings)
If your mic is not working properly, the first thing you should do is disconnect and reconnect your AirPods. If your microphone is suddenly not working anymore, this is likely the most effective solution for you.
To reconnect your AirPods, follow these simple steps:
- Turn Bluetooth off on your connected device (e.g. iPhone or iPad);
- Wait for about 10 seconds and turn Bluetooth on again;
- Your AirPods should now reconnect automatically, but give it a minute to finish the process.
Next, navigate to your Bluetooth settings and make sure your AirPods are recognized by (and connected to) your device. If needed, change the settings of your microphone connectivity. They should be set to ‘Automatic’ for optimal performance.
2. Change Microphone Settings To ‘Automatic’
If your AirPods microphone still isn’t working properly after reconnecting to Bluetooth, you could change the settings manually.
To do this, change the active microphone settings on the AirPods app to enable ‘Automatically Switch AirPods‘. Choose ‘Settings’ > ‘Bluetooth’ and tap the ‘Info’ icon. Choose ‘Microphone’ to enable auto mode. Your AirPods will optimize for the best microphone settings automatically.
If you’re still struggling to get the AirPods mic to work with this method, it’s important to check if your device is sufficiently cleaned. It’s not hard to clean AirPods, but you have to know how to do it properly.
3. Clean The Microphone With A Dry Cotton Swab
If you’re been using your AirPods for a while already, chances are that some dirt, mucus, or other debris might have blocked out the microphone. This needs to be cleaned out as soon as possible.
After you’ve located the microphone opening on the bottom of your AirPod, look down in it to see if you can get a visual of the dirt.
Grab a regular dry cotton swab (such as these ones), and try and get the dirt out. It might help to dip the cotton swabs in this type of rubbing alcohol as well. This allows the dirt that is stuck to be removed more easily.
I’d also recommend cleaning out the AirPod speaker as well, while you’re at it. The dirt gets stuck in all small parts, especially the parts that regularly get into contact with your ear (and ear wax). If you repeat the cleaning procedure every few months, you’ll continue to have the most optimal audio experience.
Please note: Always make sure to correctly position your AirPods microphone in the direction of your mouth when making a call. The better it’s positioned towards the source of the audio, the easier it will be for the device to pick up your voice. So don’t wear your AirPods upside down when you need that mic!